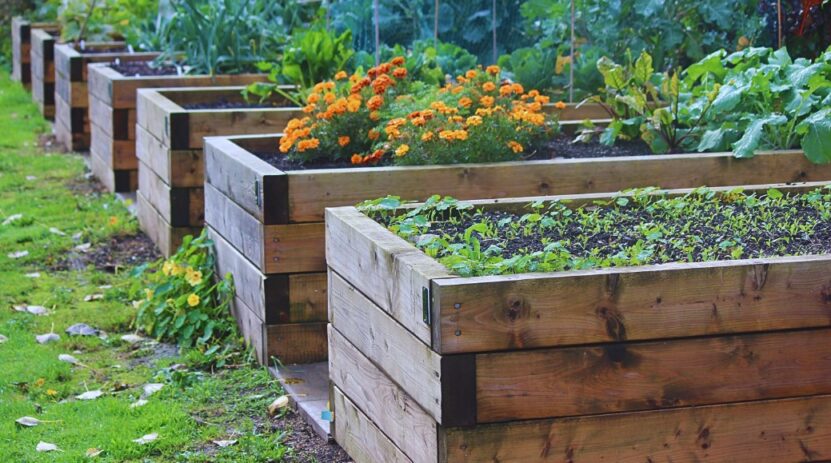
You may be feeling unsure of where to even begin with planting. Well, raised beds are the answer – they take the mystery out of making things grow. All you need is a sunny spot, and some basic supplies, and before you know it you’ll have fresh eats straight from the dirt.
In this guide, I’ll give you the run-down on everything you need to successfully DIY your own above-ground growing zones.
Materials and Tools Needed
Before beginning construction, it’s important to make sure you have the proper materials gathered. Here are the key items needed:
Frame Materials:
- Wood options like cedar, redwood, or pine work well.
- Hardware for assembling the frame, such as screws.
Soil Mix:
A blend of topsoil, compost, and an additive like peat moss will provide optimal nutrition.
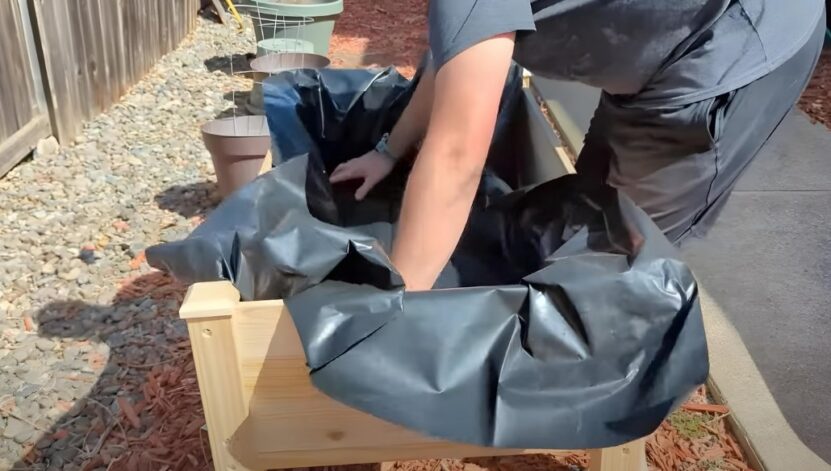
Barrier Fabric (optional but recommended):
Geotextile lining helps suppress weeds.
Tools:
- Saw for cutting wood to size accurately
- Drill or screwdriver for assembling
- Tape measure for precise measurements
- Level for ensuring proper structure
- Shovel for soil work
- Wheelbarrow for transporting materials
Step-by-Step Guide
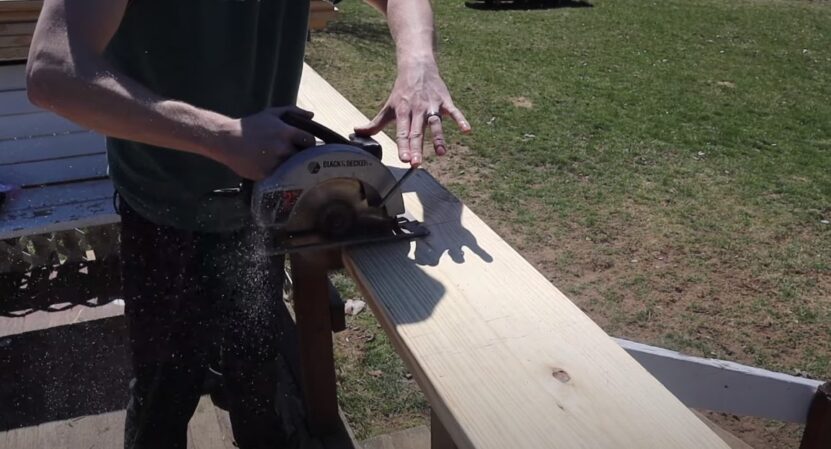
1. Assemble the Frame
You’ll need lumber to construct the frame boundaries and corners. Carefully measure and cut the wooden boards and posts to size. For a basic design, cut two 8-foot boards for long sides, two 4-foot boards for short sides, and four corner posts around 1-2 feet tall.
Secure the frame by affixing corner posts between the side boards utilizing screws or nails. Ensure the frame is level and square using a tool like a spirit level.
2. Prepare the Site
Once the area is measured and marked, carefully clear existing grass or weeds from the designated space. Rake over the patch to level the soil below.
3. Position the Frame
With assistance, if needed, position the emptied wooden frame levelly onto the prepared ground surface. Recheck that it is properly aligned and sitting firmly but not sunk into the soil.
4. Fill the Bed With Soil
Acquire a blend of topsoil, compost, and a bulking material like peat moss or coco coir to create a nutrient-rich growing medium approximately 12 inches deep within the frame borders.
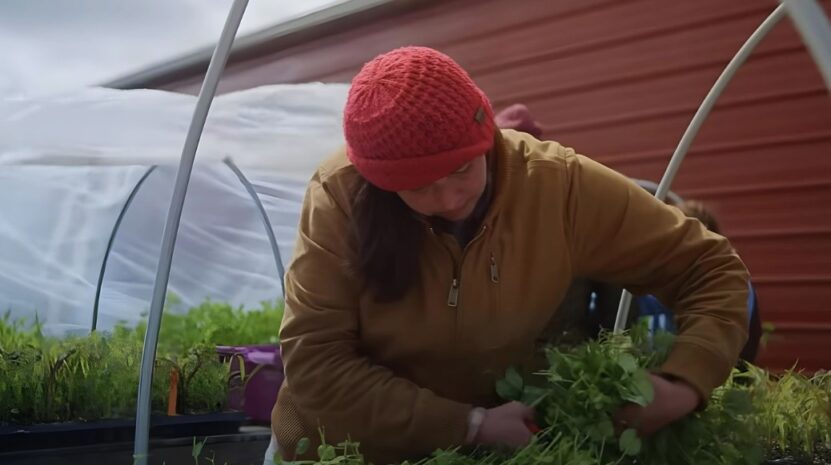
5. Plant Your Raised Garden
Now that the bed holds premium soil, you are ready to sow seeds or set transplants based on your local climate and growing season. Be mindful of spacing to allow room for future growth. Regularly observe your plants’ needs and enjoy fresh ingredients.
Additional Tips
- Start Slow – Especially when you’re just starting out, focus your efforts on one compact raised bed. This lower-scale approach lets you get the hang of maintenance without being overwhelmed. As your confidence grows, maybe add another bed next spring. There’s no rush!
- Plant Smart – Do some research to choose crops suited to your climate. Cherry tomatoes, leafy greens, and herbs like basil are forgiving options for beginners. Try them out before branching to trickier veg. Your new thumb friends will thank you.
- Keep it Moist but not Soggy – The elevated beds dry out faster, so check the soil moisture daily—your plants will stress less with regular watering. A simple drip irrigation saves legwork. On rainy days, open a canopy or relocate pots if puddles form.
- Create a Barrier – Spreading a thin mulch layer like straw over beds blocks those sneaky weeds and locks in moisture. It also feeds the soil as it breaks down. Just be sure not to bury your babies!
- Rotate What You Grow – Take care not to plant the same families (like nightshades) in the same plots each year. This saves on pests and lets soil nutrients cycle. A little annual switching-up keeps beds healthy and happy.
Check Out These Creative Ideas
- Recycle and Repurpose – An old bookshelf or leftover fencing can find new life as elevated planters. With a fresh coat of paint or stain, these reused materials add personality.
- Natural Style – Rocks and boulders let you make a rustic-chic oasis. Mosses will thrive in the mini crevices. This woodland vibe is stress-reducing.
- Cement Creations – Using concrete blocks or pavers build sturdy, architecturally-pleasing gardens meant to endure. Their orderly lines evoke a contemporary sense of calm.
- Rolling Outdoors – If space or mobility is a concern, try durable metal troughs on wheels or stackable plastic planters that travel where the sun leads. Flexible gardening is relaxing.
- Upcycled Containers – Repurpose what some toss – old tires become earth-holding sculptures whereas wine crates are configured into tidy herb towers. Fewer waste appeals.
- Pretty Portable Bags – Breathable fabric bags let green thumbs follow the season’s harvest cues indoors or out. Their lightweight mobility charms.
- Hang Out Above – For limited grounds, hanging baskets elevate fruits, veggies, and blooms within arm’s reach. Their airy suspended style is soothing.
Don’t Forget About the Maintenance

Tending your elevated beds takes a little effort, but maintaining them keeps your green friends thriving. Here are some care tips for your raised garden:
- Weed Whacking – Despite the barriers, pesky pigweeds still persist. Make regular walkthroughs, gently removing any sprouts before they sap nutrients from preferred plants. Stay on top of it!
- Feed the Soil – Each year, top off plots with compost or well-aged manure to replenish lost goodness. Satisfied soil means satisfied crops! Think of it like a nice meal for hardworking earth.
- Shape and Support – Guiding vines up tall stakes or airy trellises prevents unwanted slouching. Pruning also encourages perkier growth and bigger yields. Give plants a little coaching love.
- Watch for Moochers – Keep watch for critters nibbling or sucking sap. A quick fix saves your leafy kids from illness or loss. early awareness is prevention – so pay mind as they flourish.
- Pick at Peakness – Harvesting regularly signals plants to produce more tasty treats! But check readiness first – roots need time to reach plump perfection. Timed trips to the patch mean bounty for all.
- End of Season Tidying – Once harvests end, clean out spent stalks and debris to restore balance. Bare plots rest easy through winter, raring to sprout anew come warmer weather.
Last Words
Designing creatively is fun, but the priority is sustainability and nutrition. With regular care, properly installed beds should yield healthy harvests for years to come while deepening our appreciation for nature. Gardening also strengthens our connection to the land.
For new gardeners, may your efforts cultivate satisfaction. Experienced gardeners, please keep sharing your skills – everyday stewardship makes a difference. Community support helps people everywhere access healthy, locally-grown food.