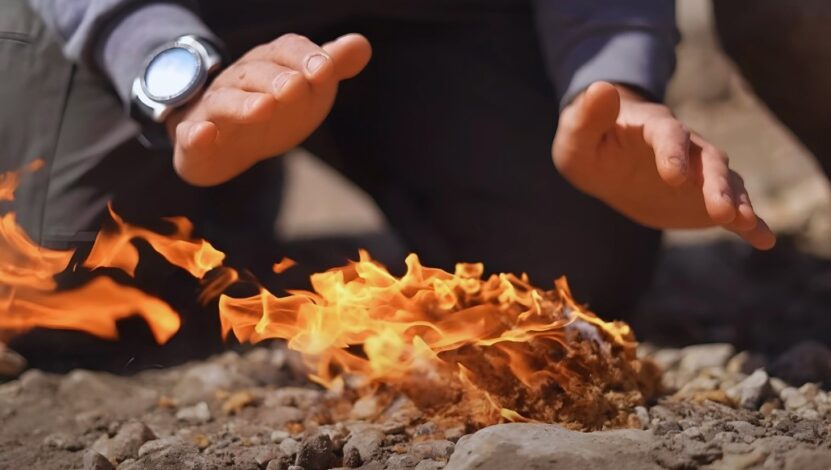
Imagine being out in the wilderness, miles away from civilization, with the temperature dropping as the sun sets. Knowing how to start a fire can mean the difference between a comfortable night and a potentially dangerous situation.
If you’re new to survival skills, don’t worry. I’m here to guide you through some essential fire-making techniques that are simple enough for beginners but effective in any situation.
1. Hand Drill Method
The first cool way to start a fire is the hand drill method. It’s like going back to the basics, but it’s still very fascinating. You use friction to create some serious heat and make an ember. It’s primitive, but it gets the job done.
Steps
- Prepare Your Fireboard: Cut a V-notch in your fireboard and create a small depression adjacent to the notch.
- Position the Spindle: Place a straight, dry spindle into the depression.
- Rotate the Spindle: Roll the spindle between your palms while pressing down. Increase speed gradually.
- Catch the Ember: When you see smoke, continue for a bit longer. Once you have an ember, tap it onto a piece of bark or leaf.
2. Two-Man Friction Drill
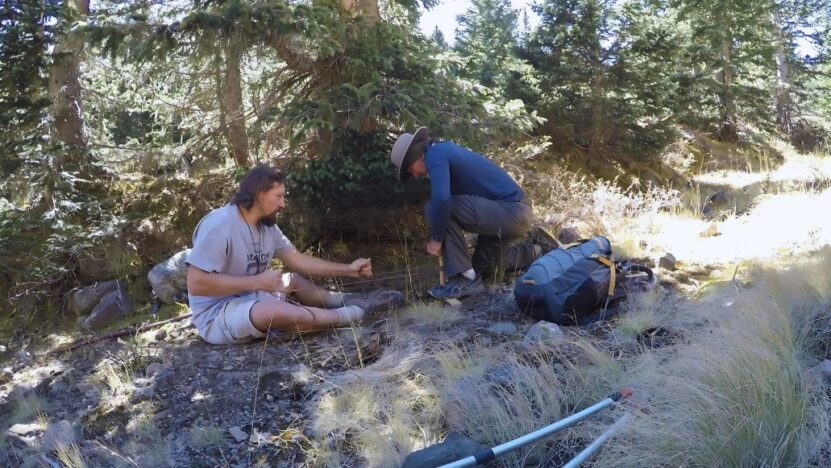
If you’ve got a friend hanging out, you can speed things up and make it a breeze with the two-man friction drill. It’s a cool technique where one person pushes down while the other twists the spindle using a thong or shoelace.
Steps
- Set Up the Spindle and Fireboard: Similar to the hand drill method.
- Apply Pressure: One person holds the spindle steady and applies pressure.
- Rotate the Spindle: The second person wraps a thong or shoelace around the spindle and pulls back and forth to rotate it.
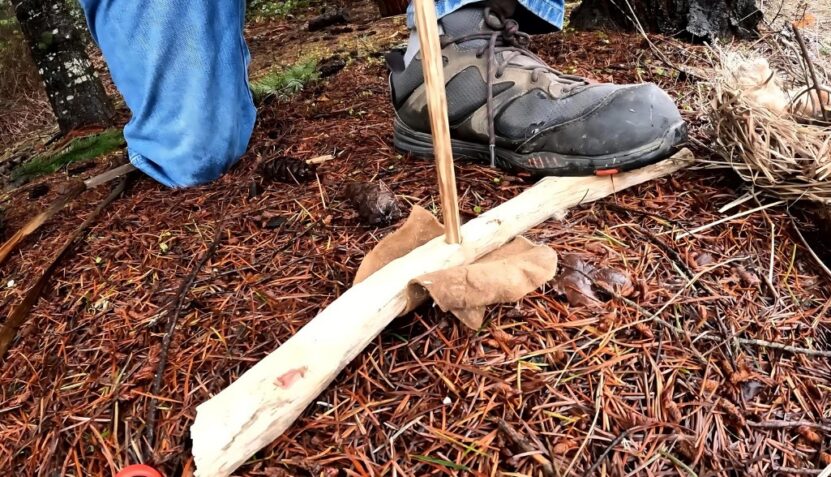
3. Fire Plough

The fire plough method involves creating friction by ploughing a hard shaft along a groove in a piece of softwood.
Steps
- Create the Groove: Cut a straight groove into a piece of softwood.
- Plough the Shaft: Rub a hardwood shaft vigorously up and down the groove.
- Build Heat: As you continue, wood particles will accumulate and eventually ignite.
4. Pump Fire Drill
Invented by the Iroquois, the pump fire drill is a clever way to use a flywheel to generate the necessary friction.
Steps
- Fit the Spindle: Insert the spindle into a piece of hardwood.
- Attach the Flywheel: Secure a flywheel to the spindle with a crossbar.
- Wind Up the Flywheel: Spin the flywheel to wind up the spindle.
- Create an Ember: As the flywheel unwinds, the spindle spins rapidly, generating heat and creating an ember.
5. Bow Drill
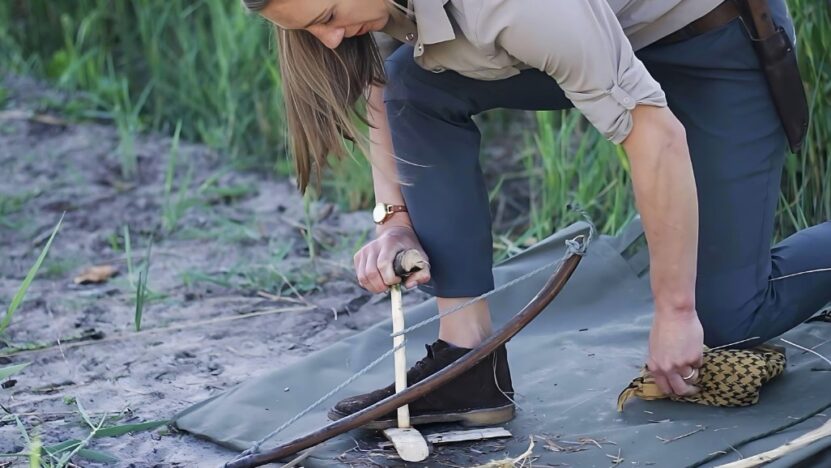
The bow drill is often considered the most efficient manual method for maintaining the necessary speed and pressure.
Steps
- Prepare the Fireboard and Spindle: Cut a notch in the fireboard and place the spindle in the notch.
- Create the Bow: Use a flexible stick and a string to create a bow.
- Saw Back and Forth: Wrap the string around the spindle and saw the bow back and forth.
6. Firepiston
The firepiston works on the principle of rapid air compression to generate heat.
Steps
- Assemble the Firepiston: Use a tube made of hardwood, bamboo, or horn with a greased piston.
- Compress Air: Quickly compress the piston into the tube.
- Ignite Tinder: The compressed air heats up and ignites a small piece of tinder placed in the tube.
7. Flint and Steel
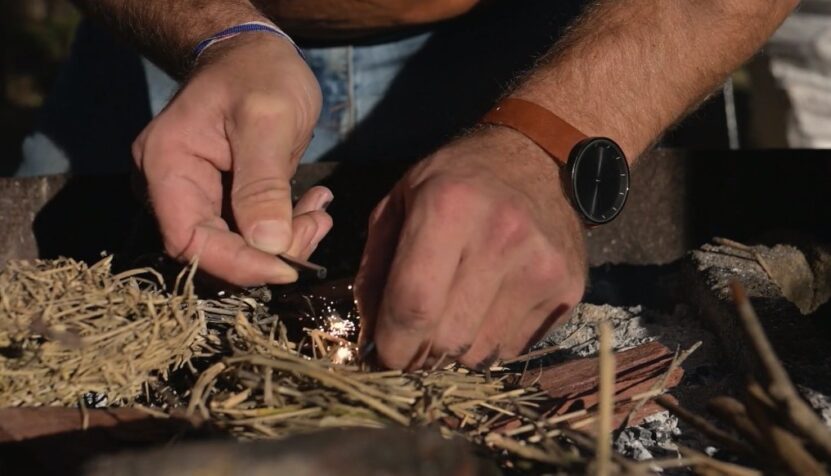
One of the old-school ways to start a fire is by using flint and steel. You just need to create some sparks by striking steel against flint or quartzite, and just like that, your camp is set for the night.
Steps
- Hold the Flint: Grasp a shard of flint.
- Strike with Steel: Strike the flint with a piece of steel to create sparks.
- Catch Sparks: Direct the sparks onto char cloth or tinder fungus to ignite them.
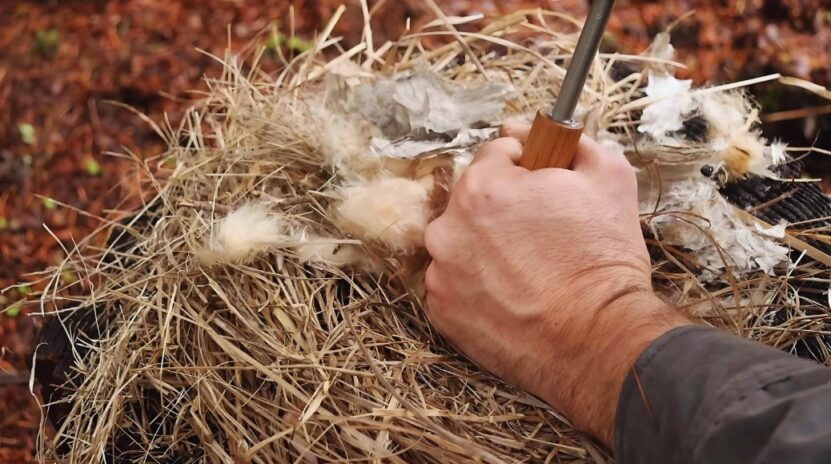
8. Alternative Spark-based Fire Starting
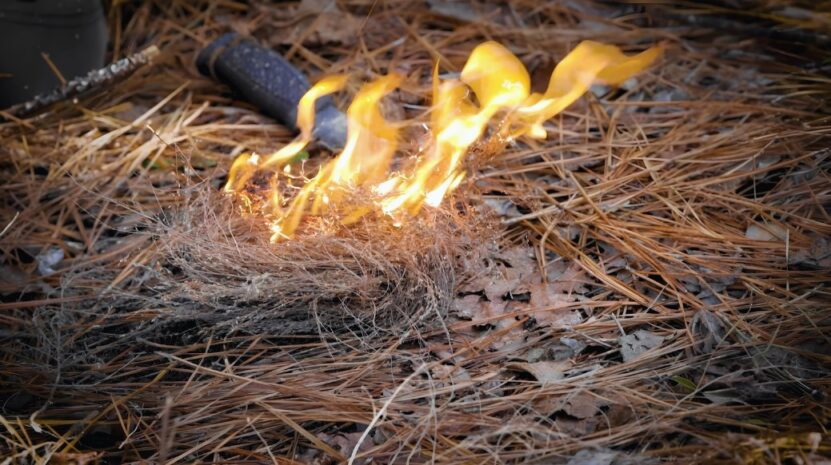
Using magnesium is another excellent way to start a fire with sparks.
Steps
- Prepare Tinder: Create a nest of dry tinder.
- Shave Magnesium: Shave magnesium flecks into the tinder.
- Strike to Produce Sparks: Use a striker to produce high-temperature sparks.
9 Rock Striker
Quartzite can be used as an alternative to flint for striking sparks.
Steps
- Find Quartzite: Identify and collect quartzite rocks.
- Create Sharp Edges: Break the quartzite to expose sharp edges.
- Use as a Striker: Strike the quartzite with steel to produce sparks.
Summary
If you’re into survival stuff, then mastering fire-making techniques is a must, along with some other things, such as learning first aid skills. It doesn’t matter if you go old school with the hand drill or opt for the more efficient bow drill, each method has its perks and works best under specific conditions.
Practice the techniques I listed, and you’ll be ready for anything that comes your way and always be warm and able to cook some grub when necessary. So, pack up your gear, hit the great outdoors, and get down to business. Who knows, your next exciting adventure might hinge on your fire-making skills.