If you’re stuck in the wild without fresh water, you won’t last more than three days.
Finding clean drinking water should be your top priority in a survival situation.
Even if you find a water source, it’s probably not safe to drink right away due to microorganisms and bacteria.
Drinking unpurified water can make you seriously ill or even be fatal.
This guide will show you how to purify water in the wild, helping you stay safe when things go wrong.
Here are seven filtration methods to access clean water in any survival situation.
1. Tablets or Drops
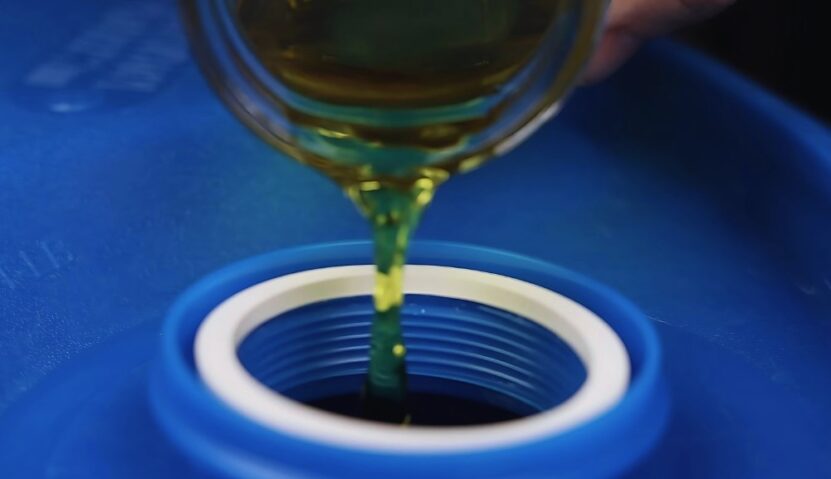
When preparing an emergency kit, make sure to include purification tablets or drops.
These are a quick solution if you don’t know how to purify water in the wild.
The main ingredients in these tablets are iodine, chlorine, and potassium permanganate.
In small doses, they aren’t harmful but are very effective at killing harmful organisms in the water.
A key tip for disaster preparedness: Add some purifying drops to your family’s emergency bags.
One downside is that you need to measure the water correctly to avoid using too much or too little of the tablets/drops.
Typically, tablets are designed for about 20 liters of water.
To use tablets to purify water, follow these steps:
- Filter 20 liters (or the required amount) until the water is clear.
- Fill your container and add the drops or tablets as instructed.
- Shake or stir the container for 10-20 seconds to mix thoroughly.
- Let the water sit for at least 20 minutes before drinking.
2. Distillation
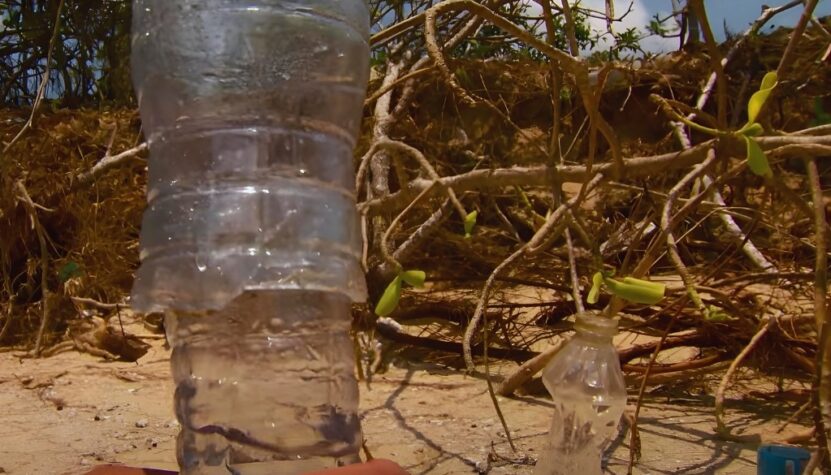
Distillation is a useful method for purifying water, especially in tropical or Pacific regions.
Fresh water in these areas often has high levels of sodium and minerals, which can lead to dehydration if consumed untreated.
To distill water, you need to separate it from salts and minerals.
This requires a few items that might not be easily available in the wild: a container, a smaller container, and a cover.
Here’s how to distill water:
- Place the smaller container inside the larger one.
- Fill the larger container with salt water.
- Cover the larger container, making sure the cover is indented towards the smaller container.
- Let the setup sit in the sun. Condensation will form on the cover, run-down, and drip into the smaller container.
With enough sunlight and the right setup, you can collect drinkable water. While distillation doesn’t fully purify the water, it does separate it from salts and minerals. After distillation, you can further filter the water using an emergency water filter.
3. Stone Boiling
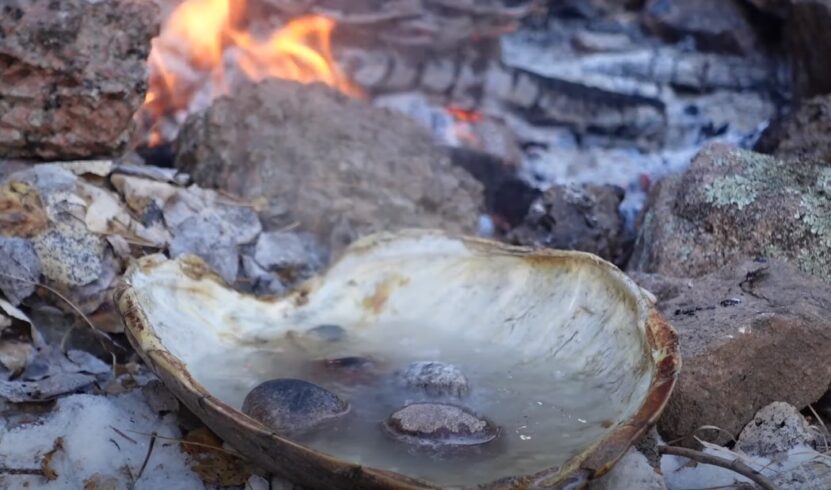
In the wild, you might not have the materials needed to boil water.
Even if you make a clay pot from riverbed materials, it likely won’t withstand the heat required to boil water.
A workaround is the stone boiling method, used by many wilderness survivalists.
This involves heating rocks to high temperatures and then placing them in water to bring it to a boil.
You’ll need a container for your water that can withstand the hot rocks.
First, wash the stones and heat them in the coals of a hot fire.
Once the rocks are extremely hot, use wooden tongs to transfer them into your water container.
If the water doesn’t start boiling within seconds, continue adding hot rocks until it does, or reheat the rocks and try again.
4. Sedimentation
Sedimentation is an effective method for dealing with murky water in the wild, yet it’s often overlooked.
This process allows unwanted particles to settle at the bottom of the container.
To use sedimentation, let your water sit undisturbed for an extended period.
The particles will gradually sink to the bottom, leaving clearer water at the top.
Carefully scoop the top layer of water into a separate container for further purification.
Be cautious not to disturb the water when transferring it, as this can mix the particles back into the clean water.
5. Water Filtration System
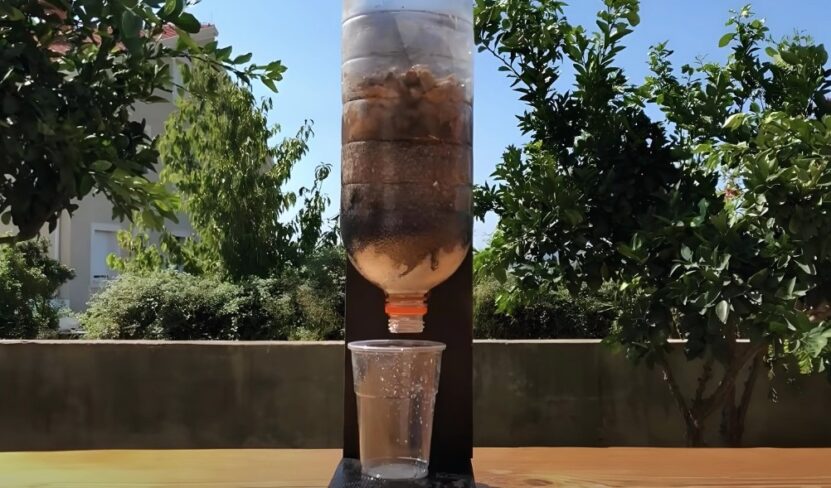
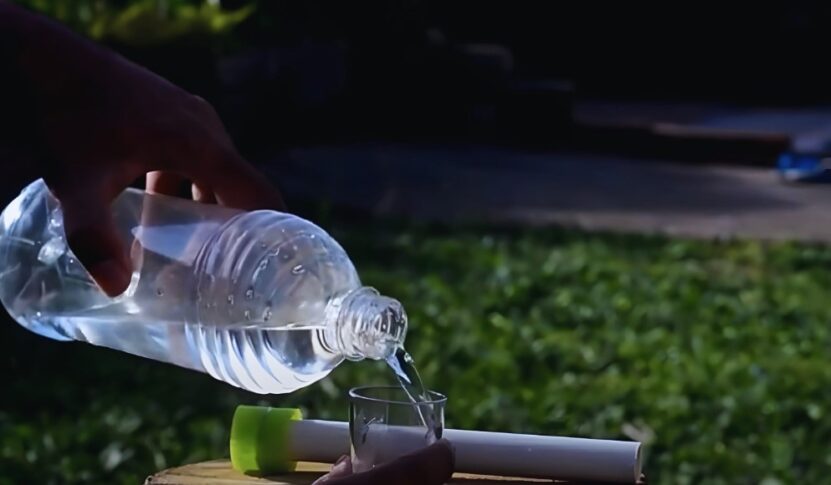
Learning to filter water in the wild starts with practice at home. Using basic materials like sand and rocks, you can create a simple filtration tool for outdoor use.
While filtering water through materials like sand and charcoal won’t purify it completely, it will remove physical contaminants.
You’ll still need an additional method to make the water safe to drink.
To create your filter, you’ll need a cone-like container, such as a plastic water bottle. If you don’t have one, you can make a cone using large leaves and bundled sticks.
Place some moss or cloth at the bottom to keep the filtration materials (sand, rocks, moss, etc.) from escaping.
A Useful Tip: if you can’t find filtration materials in the wild, a T-shirt or bundle of cloth works well. Consider washing or boiling the cloth before using it as a filter.
6. Boiling
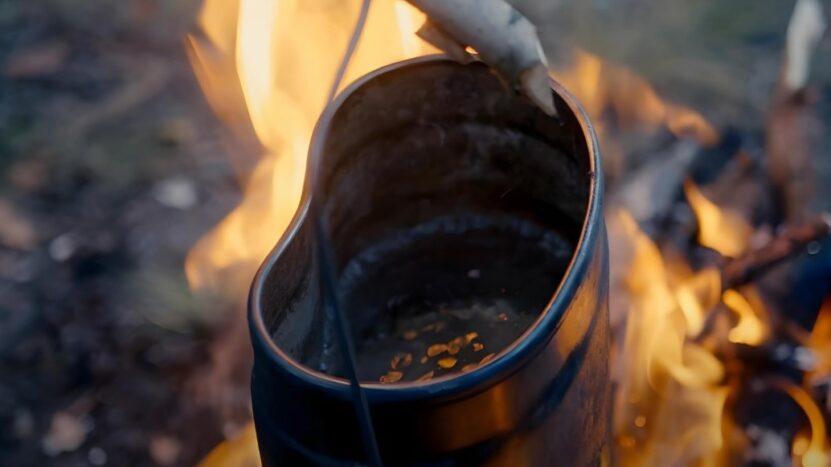
Boiling water is one of the most effective ways to purify it in the wild. Boiling kills most bacteria and microorganisms, making the water safe to drink.
Always start with clear water. Boiling water contaminated with dirt, leaves, or other debris can still leave harmful minerals behind.
Even stagnant lake water can be purified by boiling.
With a solid container and a good fire, you can have purified water in about 10 minutes.
Let the water boil for at least five minutes to ensure all harmful organisms are killed. After boiling, let the water sit for another five minutes before drinking
7. Plants
Some plants in the wild can help purify or filter water, but you need a thorough understanding of these plants to avoid mistakes.
Using the wrong plant can have serious consequences.
Here are some plants that can remove contaminants from water:
- Plant Xylem
- Cilantro
- Rice and coconuts
- Banana peels
- Fruit peels
- Reeds and bulrushes
- Jackfruit seeds
- Java plum seed
- Moringa Oleifera
- Oregon Grape
To use these plants, seal and soak clear water in a bag with them to create clean drinking water. For example, the inner bark of the Oregon Grape plant contains berberine, an antimicrobial alkaloid.
However, the Oregon Grape is not typically found in tropical or desert settings. Citric fruits and their seeds, as well as coconuts, can be good alternatives. Coconuts, in particular, provide both water and purifying materials.


