
Ever wondered how to ensure clean, safe drinking water without spending a fortune? Today, I will share some insights from my experience in creating DIY water filtration systems.
With just a few common materials, you can build effective filters that help remove contaminants, improve taste, and even save the environment. There’s a lot to cover, so let’s begin without further ado.
It’s Cost-Effective and Environmentally Friendly
Fancy commercial water filters can really put a dent in your wallet, not to mention all the plastic they end up producing. But get this – you can easily make your own water filter at home and save some serious cash.
All you need are a few simple materials like activated carbon, sand, and gravel, which are super affordable and easy to find. It’s a win-win – you get clean, fresh water, and you’re doing your part to reduce waste.
Emergency Preparedness
In those emergency situations or when you’re out in the middle of nowhere, finding clean water to drink can be a real pain. But no worries – a good DIY water filter can save you.
Having your own personal water purifier on hand, ready to give you that safe, clean H2O is a handy thing to have by your side, specifically when you are out in the wilderness.
Materials Needed
Creating a DIY water filtration system requires:
- A container (plastic bottles work great)
- Activated carbon or charcoal
- Sand
- Gravel
- Optionally, fruit peels or store-bought filters
How to Build Your Own Water Filter
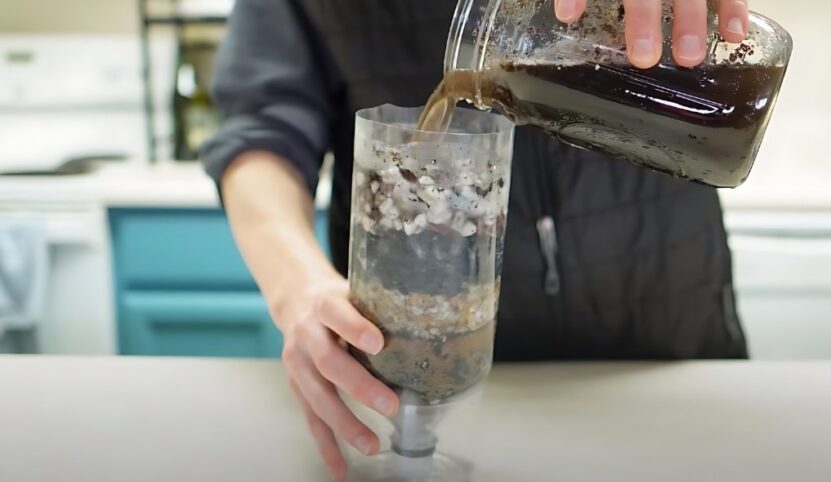
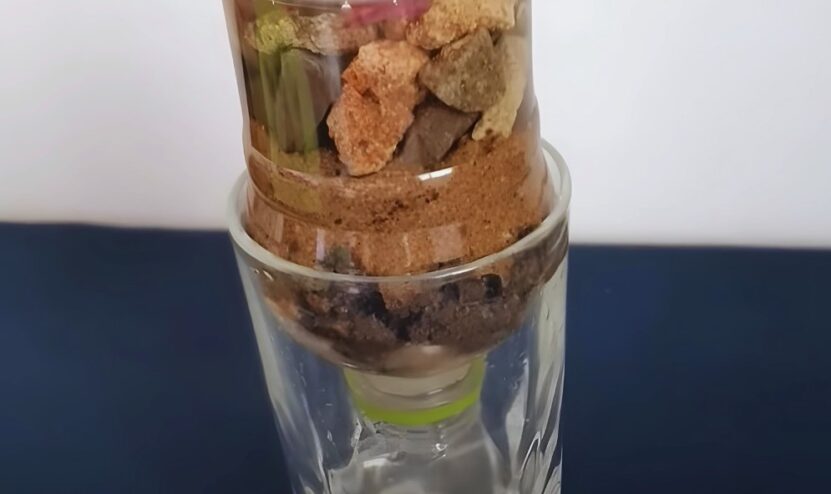
Simple Layered Filter
- Prepare the Container: Cut the bottom off a plastic bottle and turn it upside down.
- Layering: Start by placing gravel at the bottom, followed by sand, and then activated carbon. This layering helps filter out different types of contaminants.
- Filtering Process: Pour the contaminated water through the top. The gravel traps large particles, sand catches finer debris, and activated carbon removes impurities and improves taste.
Fruit Peel Filter
Believe it or not, fruit peels can filter water! Apple peels, for instance, can remove bacteria and heavy metals.
- Prepare the Peels: Wash and dry apple peels thoroughly.
- Layering with Peels: Add a layer of apple peels between the sand and activated carbon layers in your filter.
- Usage: Run the water through the filter as usual. The peels will add an extra layer of filtration.
Distillation Method
If you really want to get your water squeaky clean, distillation is the way to go. It’s pretty simple – you just heat up the water until it turns into steam, then you catch that steam and cool it back down into liquid form.
- Setup: Use a heat source, a container to boil water, and another container to collect the distilled water.
- Boiling: Heat the water until it turns to steam.
- Condensation: Capture the steam and let it condense into the second container. This process removes most contaminants, leaving you with clean water.
Enhancing Filtration Efficiency
If you layer up different materials in your filter, that can really take its performance to the next level. Throw in some gravel, sand, activated carbon – even toss in some fruit peels. That creates all these different filtration stages that can tackle different types of contaminants.
And if you really want to make sure that water is fresh and clean, you can give it a quick boil after it goes through the filter. That’ll kill off any lingering bacteria. Or you can hit it with some UV light or a few chlorine drops – those work great as extra safeguards too.
Regular Maintenance and Testing
If you want that DIY water filter of yours to keep working like a charm, you have to stay on top of cleaning it and swapping out the materials every so often. That activated carbon cartridge – you’ll want to replace it regularly to keep your water tasting fresh and clean.
Don’t forget to test the water now and then with one of those testing kits. That way, you can keep an eye on the quality and tweak things if needed.
DIY vs. Commercial Filters
Advantages of Homemade Filters
- Cost: DIY filters are much cheaper than commercial options.
- Customization: You can tailor your filter to meet specific needs.
- Sustainability: Reusable materials make DIY filters more environmentally friendly.
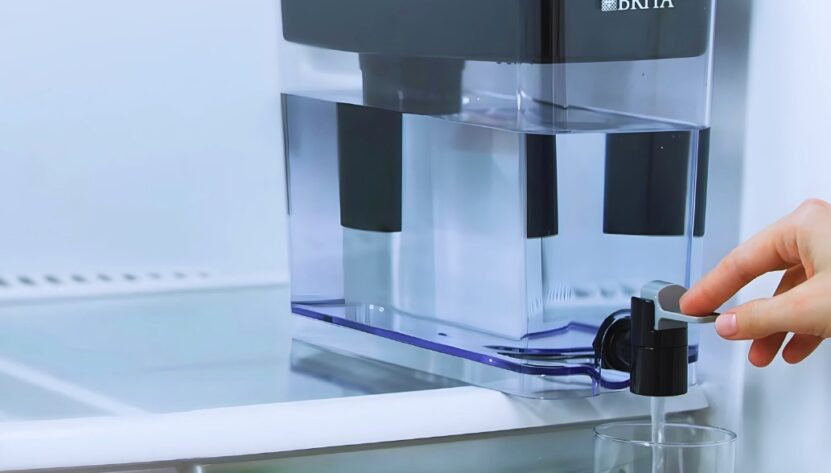
Commercial Filters
I’m a big fan of DIY filters – they can save you some money and are really effective. But I have to say, the commercial options these days are pretty sweet. The tech is just so much more advanced, and they’re way more convenient to use. You hardly have to lift a finger with those things – the maintenance is a breeze.
And the performance is rock-solid every single time. The only downside is they can be a bit pricier. And, of course, all that plastic isn’t great for the environment, so sometimes, you have to weigh the pros and cons.
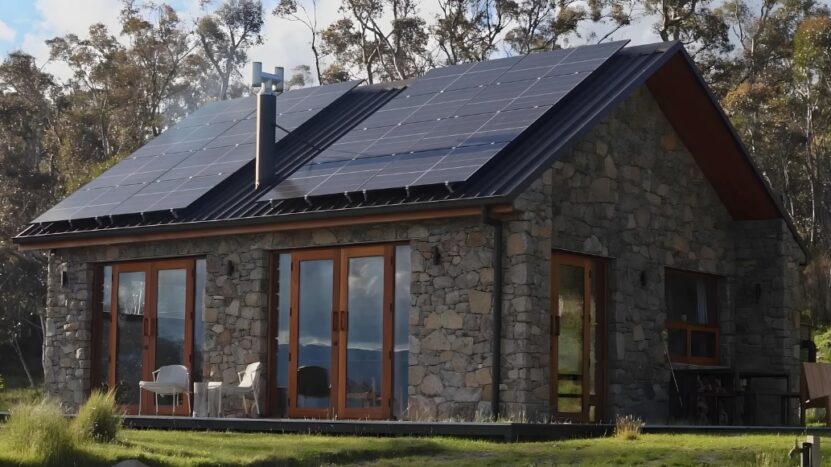
Whole House DIY Filtration Systems
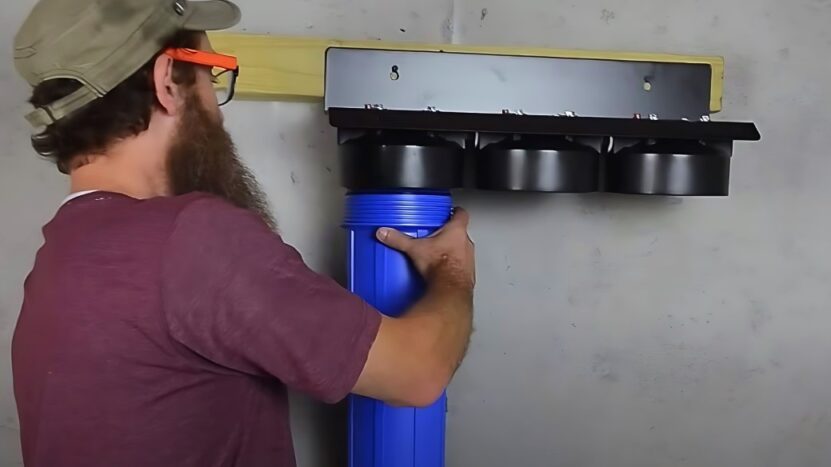
In case you want to filter water for your whole house, you can absolutely do a DIY whole-house filtration system. But fair warning – it’s a little more involved than the simple filters. You really have to scale things up.
There are multiple stages of filtration involved, containers are bigger, and you need tougher materials – the whole nine yards. It takes a bit more work, but hey, fresh, clean water for the whole family of yours? Absolutely worth it in my book!
Final Words
Creating your own water filter is totally worth it if you ask me. It’s an awesome project that’ll save you some cash and help the planet too. Plus, it’s a super handy skill to have, especially if things ever hit the fan.
You can go simple with some layers of filtering media or get a little fancy with distillation – either way, you’ll feel good knowing you’ve got a reliable way to get clean water whenever you need it. It’s just a smart move all around!