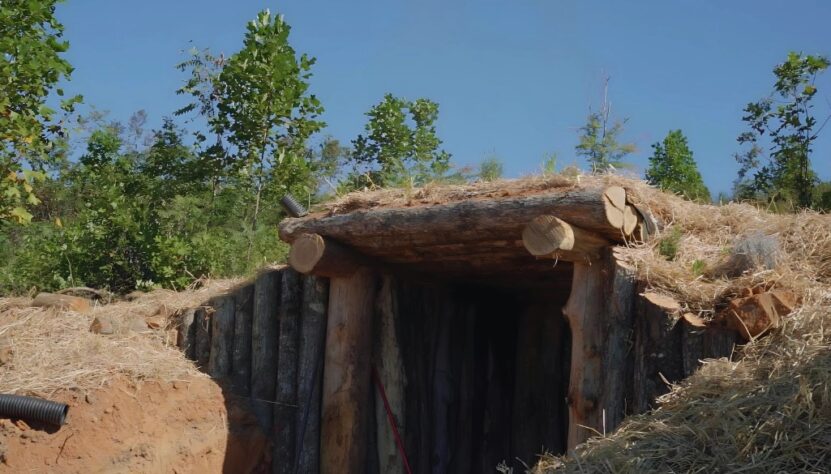
Creating a root cellar in your backyard is a fantastic way to store perishable foods like fruits, vegetables, and nuts without relying on electricity. Traditionally built underground, root cellars maintain a cool temperature that preserves food for extended periods.
If you’re into homesteading or want to be more self-sufficient, a root cellar is invaluable, especially during power outages. These cellars are great for keeping large amounts of produce fresh. Ideal conditions inside range from 32 to 40 degrees Fahrenheit (0 to 5 degrees Celsius) with humidity levels of 85% to 95%.
These conditions are perfect for storing a variety of foods without the need for refrigeration. There are so many benefits of building this unit:
- Energy Independence: No need for electricity to keep your food fresh.
- Extended Storage: Keeps produce fresh for months, reducing waste.
- Emergency Preparedness: Ensures food availability during power outages or emergencies.
- Cost-Effective: While initial construction can be pricey, the long-term savings are substantial.
Now that you know the reasons why building a root cellar is an awesome idea , I’ll walk you through how to choose the proper one and how to build it. Let’s get it started!
Choosing the Right Type of Root Cellar
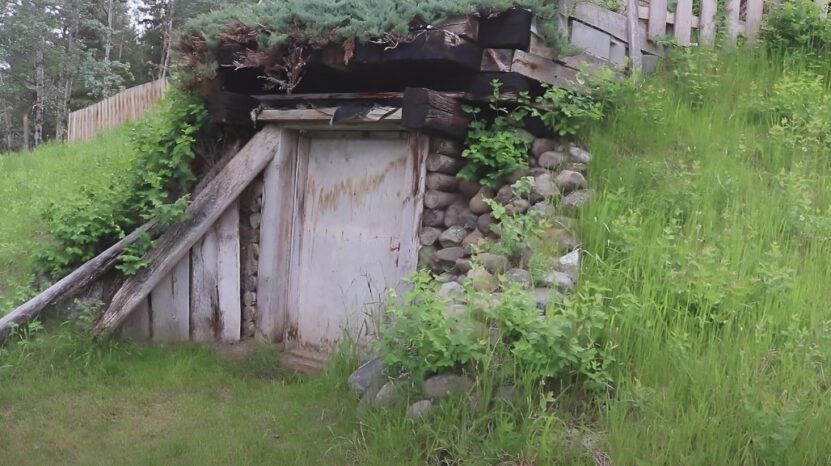
Several types of root cellars suit different geographic and climatic conditions. Here’s a brief overview:
- Traditional Root Cellar: Built completely underground.
- Hill Cellar: Dug into the side of a hill.
- Under-Structure Cellar: Constructed beneath an existing building.
- Above-Ground Cellar: Suitable for areas with high water tables.
Each type has its pros and cons, so choose one that fits your location and needs.
Planning Your Root Cellar
Before you start digging, some planning is required. Consider the following factors:
- Location: Choose a spot that’s not prone to flooding. Ideally, the cellar should be constructed into the foundation of an existing building for easy access. You can also opt for natural building materials.
- Size and Budget: Costs can range from a few hundred to several thousand dollars, depending on the complexity and size. Plan according to your budget.
- Ventilation: Proper airflow is of the essence to maintain the right temperature and humidity levels.
Building Process
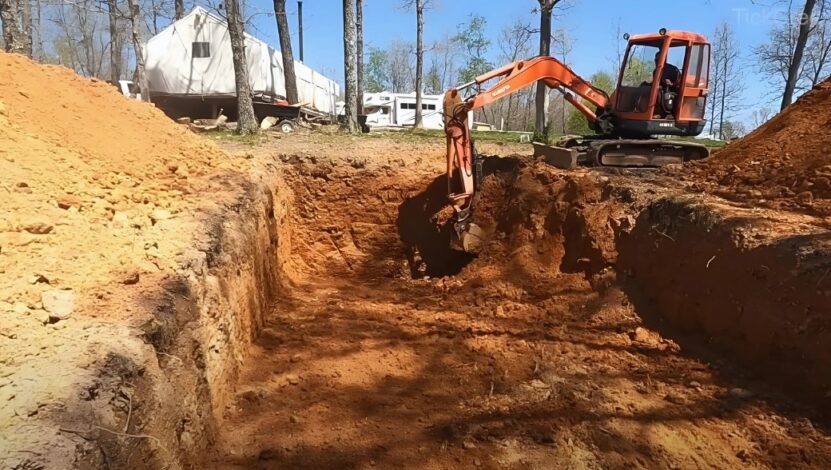
Here’s a step-by-step guide to constructing a basic root cellar:
1. Digging the Hole
First things first, find yourself a spot where you’d like to put it and start digging a hole. The size of the hole will depend on how much produce you’re planning to store.
You want it deep enough to keep things nice and insulated but not so deep that you end up with a swimming pool instead. We definitely don’t want any floods raining on our veggie parade, right?
2. Setting a Concrete Footer
Get that hole all set up and good to go. Once that’s done, it’s time to pour in some concrete for the footer. This bad boy is gonna give your walls a nice, solid foundation to rest on.
Plus, it’s gonna help keep any pesky moisture from sneaking its way into your cellar.
3. Building the Walls
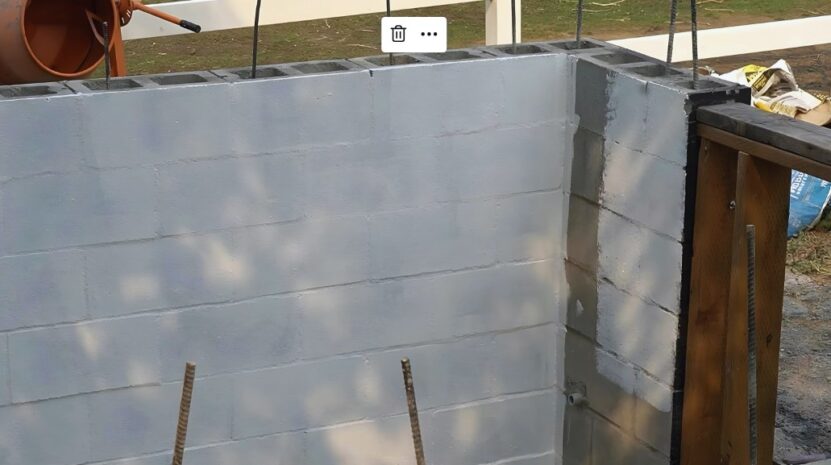
Grab some quality concrete blocks or bricks and start stacking them. Make sure they’re solid and keep the chill out with some proper insulation.
Another important thing is that you don’t forget to throw in a few drainage pipes at the bottom to keep that water from pooling up.
4. Adding the Roof
When it comes to the roof, it’s super important to make sure it’s sturdy enough to handle all that soil on top. One option is to use either wooden beams or more concrete blocks to give it that extra strength.
Don’t forget to insulate the roof. That way, you can maintain a cozy internal temperature.
5. Ventilation
If you want to keep your cellar in tip-top shape, I’ve got a great suggestion for you. Install some ventilation pipes. They’re like little air highways that let fresh air flow around your cellar, thus, they are an absolute must.
Why should you care about ventilation? You will be able to control humidity and temperature. When you have proper airflow, you can say goodbye to those pesky mold and mildew problems.
Storing Produce in Your Root Cellar
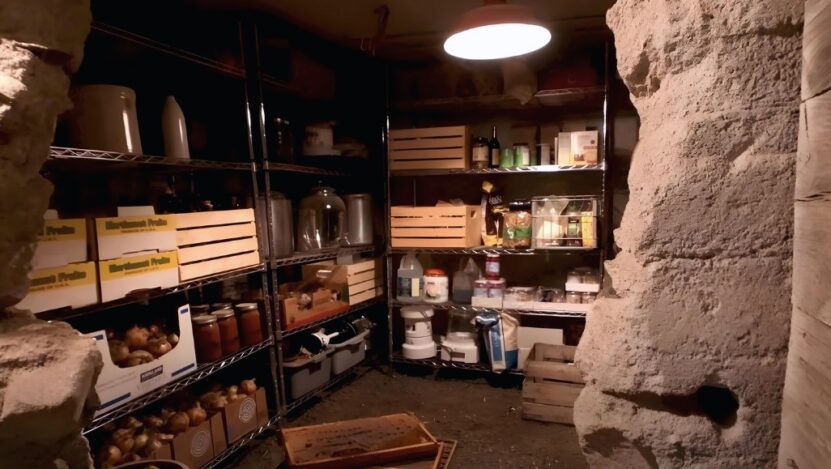
Proper storage techniques are crucial to maximize the shelf life of your produce. Here are some tips:
- Do Not Wash Produce: Washing can introduce moisture, leading to mold.
- Cure Certain Vegetables: Vegetables like potatoes and onions should be cured before storage to toughen their skins.
- Separate Ethylene-Producing Fruits: Fruits like apples produce ethylene gas, which can cause other produce to ripen too quickly. Store them separately, and you should be fine.
Maintaining Your Root Cellar
Once your root cellar is up and running, maintaining it is key to its effectiveness. Here’s how to keep it in tip-top condition:
- Temperature Management: Monitor and regulate the temperature to stay within the ideal range. This is very important, so don’t forget to do it consistently.
- Humidity Control: Use a hygrometer to keep track of humidity levels. If necessary, add or remove moisture to maintain the proper environment.
- Ventilation: Ensure ventilation pipes are clear and functional.
- Darkness: Keep the cellar dark to prevent sprouting and spoilage.
Long-Term Benefits
I know it takes some time and money upfront to construct this cellar but trust me, the perks are absolutely worth it! First off, it’s like a magic trick for your produce because it extends their storage life.
No more worrying about your fruits and veggies going bad too soon. Plus, it’s a must when it comes to food security. You’ll feel more confident knowing you have a stash of fresh food right in your own backyard.
Oh, and here’s the cherry on top: it can actually save you money in the long run and make you less reliant on external power sources. Pretty sweet deal if you ask me.
Summary
Building a root cellar in your backyard is a practical and rewarding project. With some planning and effort, you can create a reliable storage space that will keep your produce fresh for months.
It is a fantastic investment and one you should seriously consider building in the future. In case you do, remember to drop by this guide and make the whole construction process much easier.
Related Posts:
- 6 Long-Term Food Storage Techniques You Must Know
- Mastering Crop Rotation to Boost Your Garden's…
- How to Start Your Backyard Permaculture Garden Today
- How to Create and Sustain Local Food Networks - From…
- 24 Hottest Fire Pit Ideas and Designs 2023 - Heat In…
- Sustainable Building Materials for Your Eco-Friendly Home


