Renewable energy has always fascinated me, and I decided to take on a project that would not only satisfy my curiosity but also make a difference in my household’s energy consumption.
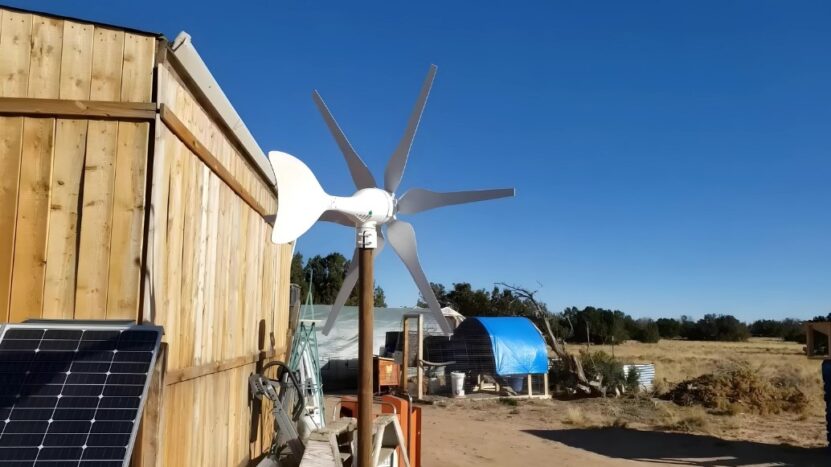
Over the past year, I built a home wind turbine using an open-source design, transforming theoretical knowledge from my engineering classes into a practical, functioning device. Here’s a detailed account of my experience and how you can build one too.
How Can Wind Turbine Benefit You?
Wind energy is a fantastic renewable resource. A home wind turbine allows average homeowners to generate their own wind energy, potentially cutting down on electricity bills and reducing reliance on non-renewable sources. It’s a step toward sustainability and self-sufficiency.
The Design Process
Initial Concept and Planning
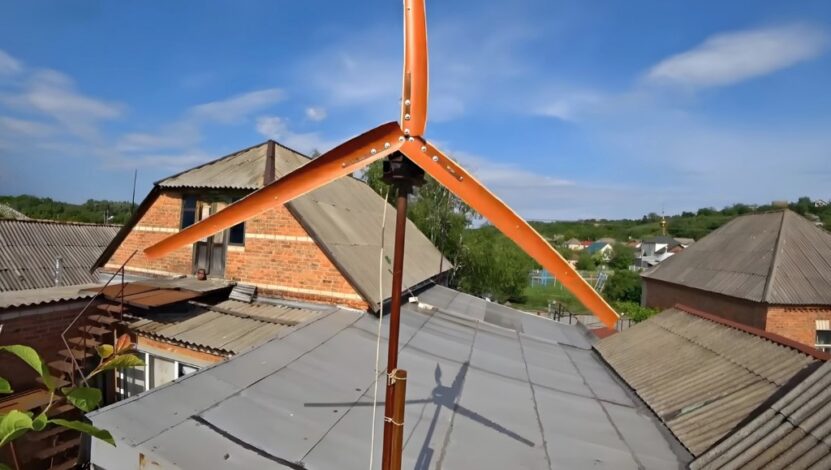
The design process took a full year, filled with trial, error, and a lot of innovation. It all started with an open-source design that I found online.
My goal was to adapt and improve this design based on my engineering knowledge and lessons from my classes.
Blades and Aerodynamics
One of the critical aspects of the turbine is the blades. I modeled the performance of blade shapes cut from PVC pipe. After cutting the initial shapes, I sanded and shaped them into a traditional airfoil design. This improved the efficiency and aerodynamics of the blades significantly.
The Motor and Gearing System
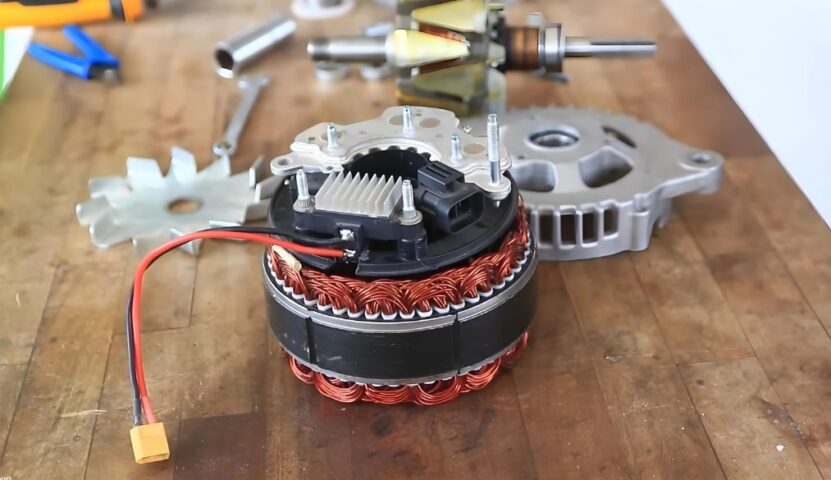
The blades were attached to a motor, used in reverse as a generator, to produce voltage. I decided to use two treadmill motors for this project. The top motor provided a stable, frictionless base for the blade rotation, which was crucial for smooth operation.
To maximize power generation, I included two sets of gearing. This setup increased the revolutions per minute (RPMs) of the motor, allowing the blades to generate higher voltage. This design improvement resulted in five times more power than the original design, making it sufficient to charge a 12-volt battery.
Building the Turbine
Materials Needed
- PVC pipes for blades
- Treadmill motors (2)
- Gears and gear housing
- Sandpaper and shaping tools
- Multimeter
- Battery (12-volt for testing)
- Base with wheels for easy movement
Step-by-Step Construction
- Cutting the Blades: Start by cutting the PVC pipes into blade shapes. The length and width depend on your specific design needs, but typically, blades are around 3 feet long.
- Shaping the Blades: Use sandpaper to shape the PVC blades into an airfoil design. This step is crucial for improving the aerodynamics and efficiency of the blades.
- Mounting the Blades: Attach the shaped blades to the top treadmill motor. Ensure the attachment is secure to prevent any wobbling during rotation.
- Setting Up the Motor: Mount the motor in a position that allows it to act as a generator when the blades turn. Use the second motor as a base to ensure stability and reduce friction.
- Installing the Gears: Attach the gearing system to increase the RPMs of the motor. This will help in generating a higher voltage.
- Testing the System: Use a multimeter to measure the voltage produced by the turbine. Test the setup in various wind conditions to ensure it’s generating sufficient power.
Testing and Adjustments
I proceeded to extensive prototype testing in various locations. I placed the turbine base on wheels for easy movement and used a multimeter to measure the wind power harnessed. Testing revealed areas for improvement, leading to several design modifications that enhanced performance.
Practical Applications
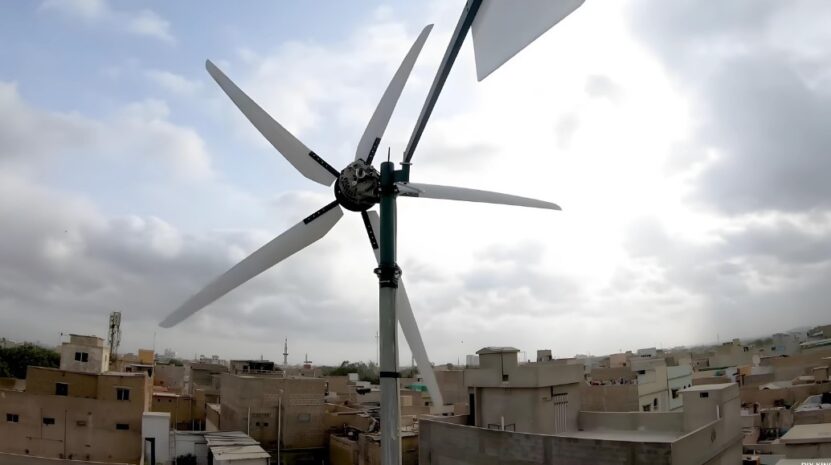
The turbine I built is designed for personal use, capable of powering household lighting and small appliances. It’s also suitable for off-the-grid situations. One of the best parts of this design is its scalability. By using larger engines, the turbine can handle higher wind speeds and generate more power, making it adaptable to different needs.
Benefits of an Engineering Team
Throughout this project, I realized if I had an engineering team or at least a couple of experts to assist me, things would’ve went much smoother. Nevertheless, I was still very satisfied with the results.
There is something special about completing project like this on your own, especially when the project proves to be successful, like mine did. With that said, in case you can afford to bring someone else to help you, the process can be much faster and likely more effective.
Final Thoughts
Building a home wind turbine was a challenging yet rewarding experience. It not only deepened my knowledge of renewable energy but also provided a practical solution for generating clean power.
If you’re passionate about sustainability and have a knack for engineering, I highly recommend taking on a project like this. It’s a fantastic way to apply your skills, learn new things, and contribute to a greener future. So, what are you waiting for? Gather your materials, roll up your sleeves, and start building your own wind turbine. Good luck!


