
The beauty of wood is often highlighted by the stains that showcase its natural grain and character. However, there comes a time when you may want to change the appearance of your stained wood furniture or surfaces. In these cases, you might wonder if it’s possible to paint over the wood stain. The short answer is yes, but it’s not as simple as just slapping a coat of paint on the stained surface.
In this comprehensive guide, we’ll dive into the process of painting over the wood stain, providing expert tips and techniques to ensure your project is a success.
Preparing the Surface
The key to a successful paint job, regardless of the surface, is proper preparation. Before you start painting over the wood stain, follow these essential steps:
Clean the Surface

Remove dust, dirt, and debris by wiping down the stained wood with a damp cloth. For greasy or sticky surfaces, use a mild detergent mixed with water. Rinse thoroughly with a clean, damp cloth, and let the surface dry completely before proceeding.
Assess the Condition
Inspect the stained wood for any damage, such as cracks, gouges, or peeling finish. Repair these imperfections with wood filler, following the manufacturer’s instructions. Once the filler is dry, sand the repaired areas smoothly.
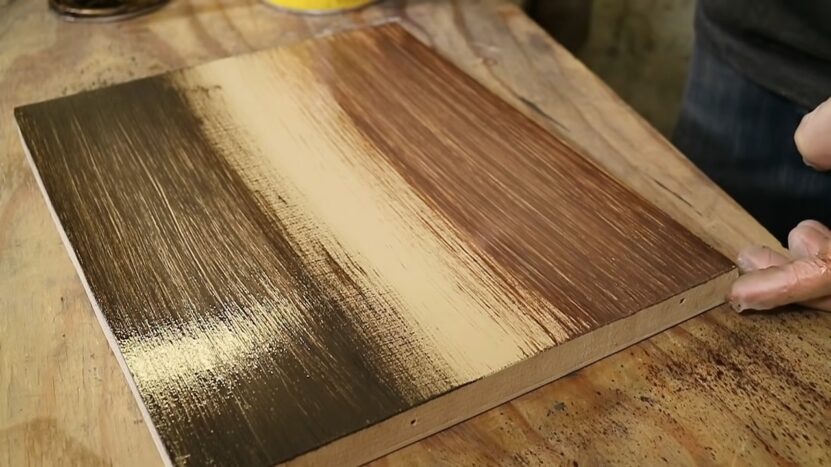
Sand the Surface
To ensure proper adhesion of the paint, you’ll need to sand the stained wood. Use medium-grit sandpaper (80-120 grit) to lightly scuff the surface, focusing on removing any glossy finish. Sand in the direction of the wood grain, and be careful not to damage the surface. After sanding, wipe the surface with a tack cloth or a damp rag to remove any dust.
Prime the Surface
Priming is crucial when painting over wood stain, as it creates a barrier between the stain and the paint, preventing bleed-through and ensuring proper adhesion. Choose a high-quality primer designed for stained surfaces, such as an oil-based or shellac-based primer. Apply the primer using a brush, roller, or sprayer, following the manufacturer’s instructions. Allow the primer to dry completely before moving on to the next step.
Choosing the Right Paint
When painting over the wood stain, it’s essential to select the right paint for the job. Oil-based paints are highly durable and offer excellent coverage, making them a popular choice for painting over stained surfaces. However, they can emit strong fumes and take longer to dry than water-based paints.
Water-based paints, such as acrylic or latex, are more environmentally friendly and dry faster. They are also easier to clean up with water and soap. If you choose a water-based paint, make sure to select one with excellent adhesion and durability, as not all water-based paints adhere well to stained surfaces.
Semi-gloss or gloss paint finishes are recommended for surfaces that require frequent cleaning or are exposed to moisture, such as kitchen cabinets, bathroom vanities, and trim. Matte or satin finishes work well for walls, ceilings, and other low-traffic areas.
Painting Techniques and Tips
Now that you have prepared the surface and chosen the right paint, it’s time to apply it. Follow these tips and techniques for a professional-looking result:
Use Quality Tools
Invest in high-quality brushes, rollers, and other painting tools to ensure a smooth, even finish. Synthetic brushes work well with both oil-based and water-based paints, while natural bristle brushes are best for oil-based paints.
Apply Multiple Thin Coats
Applying multiple thin coats of paint will provide a more even, durable finish than a single thick coat. Allow each coat to dry according to the manufacturer’s instructions before applying the next one.
Maintain a Wet Edge
To prevent lap marks and uneven paint coverage, maintain a wet edge as you work. This means applying the paint to an area adjacent to a wet, freshly painted surface. This technique helps the paint edges blend seamlessly, creating a consistent finish.
Sand Between Coats
For an ultra-smooth finish, lightly sand the surface with fine-grit sandpaper (220-320 grit) between coats. This step removes any imperfections and promotes better adhesion for the subsequent coat. Be sure to remove any dust with a tack cloth or damp rag before applying the next coat of paint.
Protect Your Work
Once you have achieved the desired coverage and finish, protect your newly painted surface with a clear sealer or polyurethane. This step is particularly important for high-traffic areas and surfaces exposed to moisture, such as kitchen cabinets and bathroom vanities. Follow the manufacturer’s instructions for application and drying times.
Troubleshooting Common Issues
Even the most seasoned DIYers can encounter issues when painting over the wood stain. Here are some common problems and their solutions:
Paint Not Adhering Properly
If the paint is not adhering to the stained surface, it may be due to inadequate surface preparation or using the wrong type of primer or paint. Ensure you have thoroughly sanded and primed the surface, and consider switching to a different primer or paint that is specifically designed for stained surfaces.
Stain Bleeding Through Paint
If the wood stain bleeds through the paint, it’s likely because the primer used was not suitable for stained surfaces. Apply a shellac-based or oil-based primer to block the stain, then repaint the surface.
Paint Peeling or Chipping
Peeling or chipping paint can result from improper surface preparation, using low-quality paint, or applying paint too thickly. Make sure you have thoroughly cleaned, sanded, and primed the surface before painting, and opt for high-quality paint. Apply multiple thin coats of paint, allowing each coat to dry before adding the next one.
Uneven Paint Finish
Uneven paint finishes can be caused by using the wrong type of brush or roller, applying the paint too thickly, or not maintaining a wet edge while painting. Use high-quality brushes or rollers, apply multiple thin coats of paint, and maintain a wet edge to achieve a smooth, even finish.
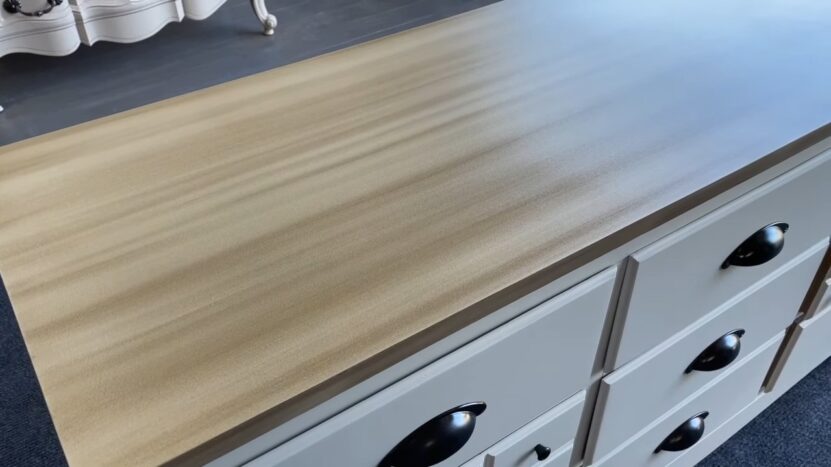
Closing Thoughts
Painting over wood stain can be a challenging project, but with the right preparation, tools, and techniques, you can successfully transform your stained wood surfaces. By following this comprehensive guide, you can achieve professional-looking results and give your wood furniture or surfaces a fresh, updated appearance. Remember, the key to success lies in proper surface preparation, choosing the right paint and primer, and using proper painting techniques. Good luck!